Ball Float Valves are a great way to regulate water flow and maintain water pressure. Ball float valves, also known as Ball Valve Ball Float, come in different sizes and styles that will work for any application you need them for. The best part about Ball Float Valves is that they’re easy to install! You don’t have to be an expert plumber or engineer – just follow these six steps:
Determine the size of your Ball Float Valve
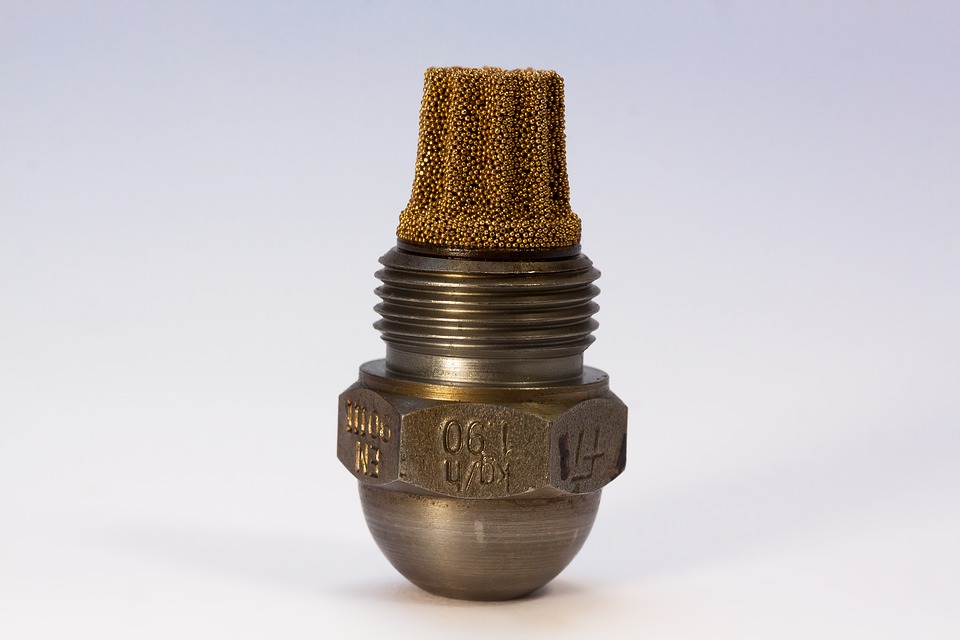
Understanding and determining what Ball Float Valve you need for your water system is the first step. It’s important to know what size Ball Float Valve will work best with a certain application, as manufacturers have different sizes and types of valves. There are many ways to determine the right Ball Float valve size. One way is by using “Pipe Thread” or NPT (National Pipe Thread Taper).
Choose the fitting type.
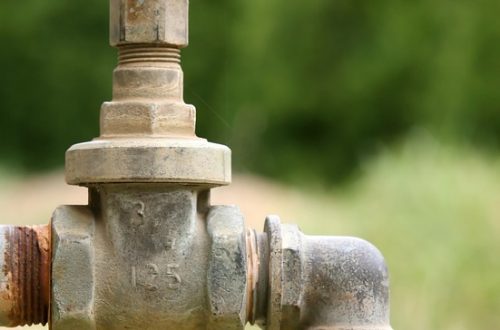
Just like choosing the correct size is important, Ball Float Valve installation is made easier with the right fitting. Ball-Float valves are available in couplings, flanges, and nipples. Each one of these Ball Float Valve installation methods has its pros and cons. Ball-Float valves can be installed horizontally or vertically, depending on your needs.
Determine your valve orientation
There are different types of Ball Float Valves depending on if you need a vertical or horizontal application. For example, Pipe Thread Ball Float Valve comes as 90-degree elbow versions for either Vertical or Horizontal applications to accommodate your plumbing needs. If you have questions about installing Ball-float valves, please call us! We’ll help every step of the way!
Locate the installation location
Before you begin the installation, it is important to find an appropriate location for Ball Float Valve. Ball-Float valves are used in many different applications, including potable water systems, fire protection booster pumps and backflow preventers, or any other application that requires a system check valve. Make sure the Ball Float Valves will not be exposed to freezing temperatures as this could cause them to fail.
Drill holes for pipes and wires
In the Ball Float Valve installation, you will need to drill a hole for your pipe and electrical wires. The size of this hole will depend on the type of Ball-Float valve that you have chosen. Be sure to take into account any insulation or other materials around where you are drilling so as not to cut things like pipes in addition to holding up your valves.
Attach fittings and turn on the water
The Ball Float Valve will attach to the pipe with a compression fitting. You may need an adapter if your Ball-Float valve uses brass threads and you are attaching it to steel or plastic pipes. Once attached, turn on the water. The Ball-Float valves should begin rising in about five minutes after connecting them correctly. If they do not move within three hours, check that there is enough pressure for these valves before calling someone out for help.
To conclude, Ball Float valves are a great way to effortlessly install Ball-Float valves by yourself.